How to deploy a server on Render
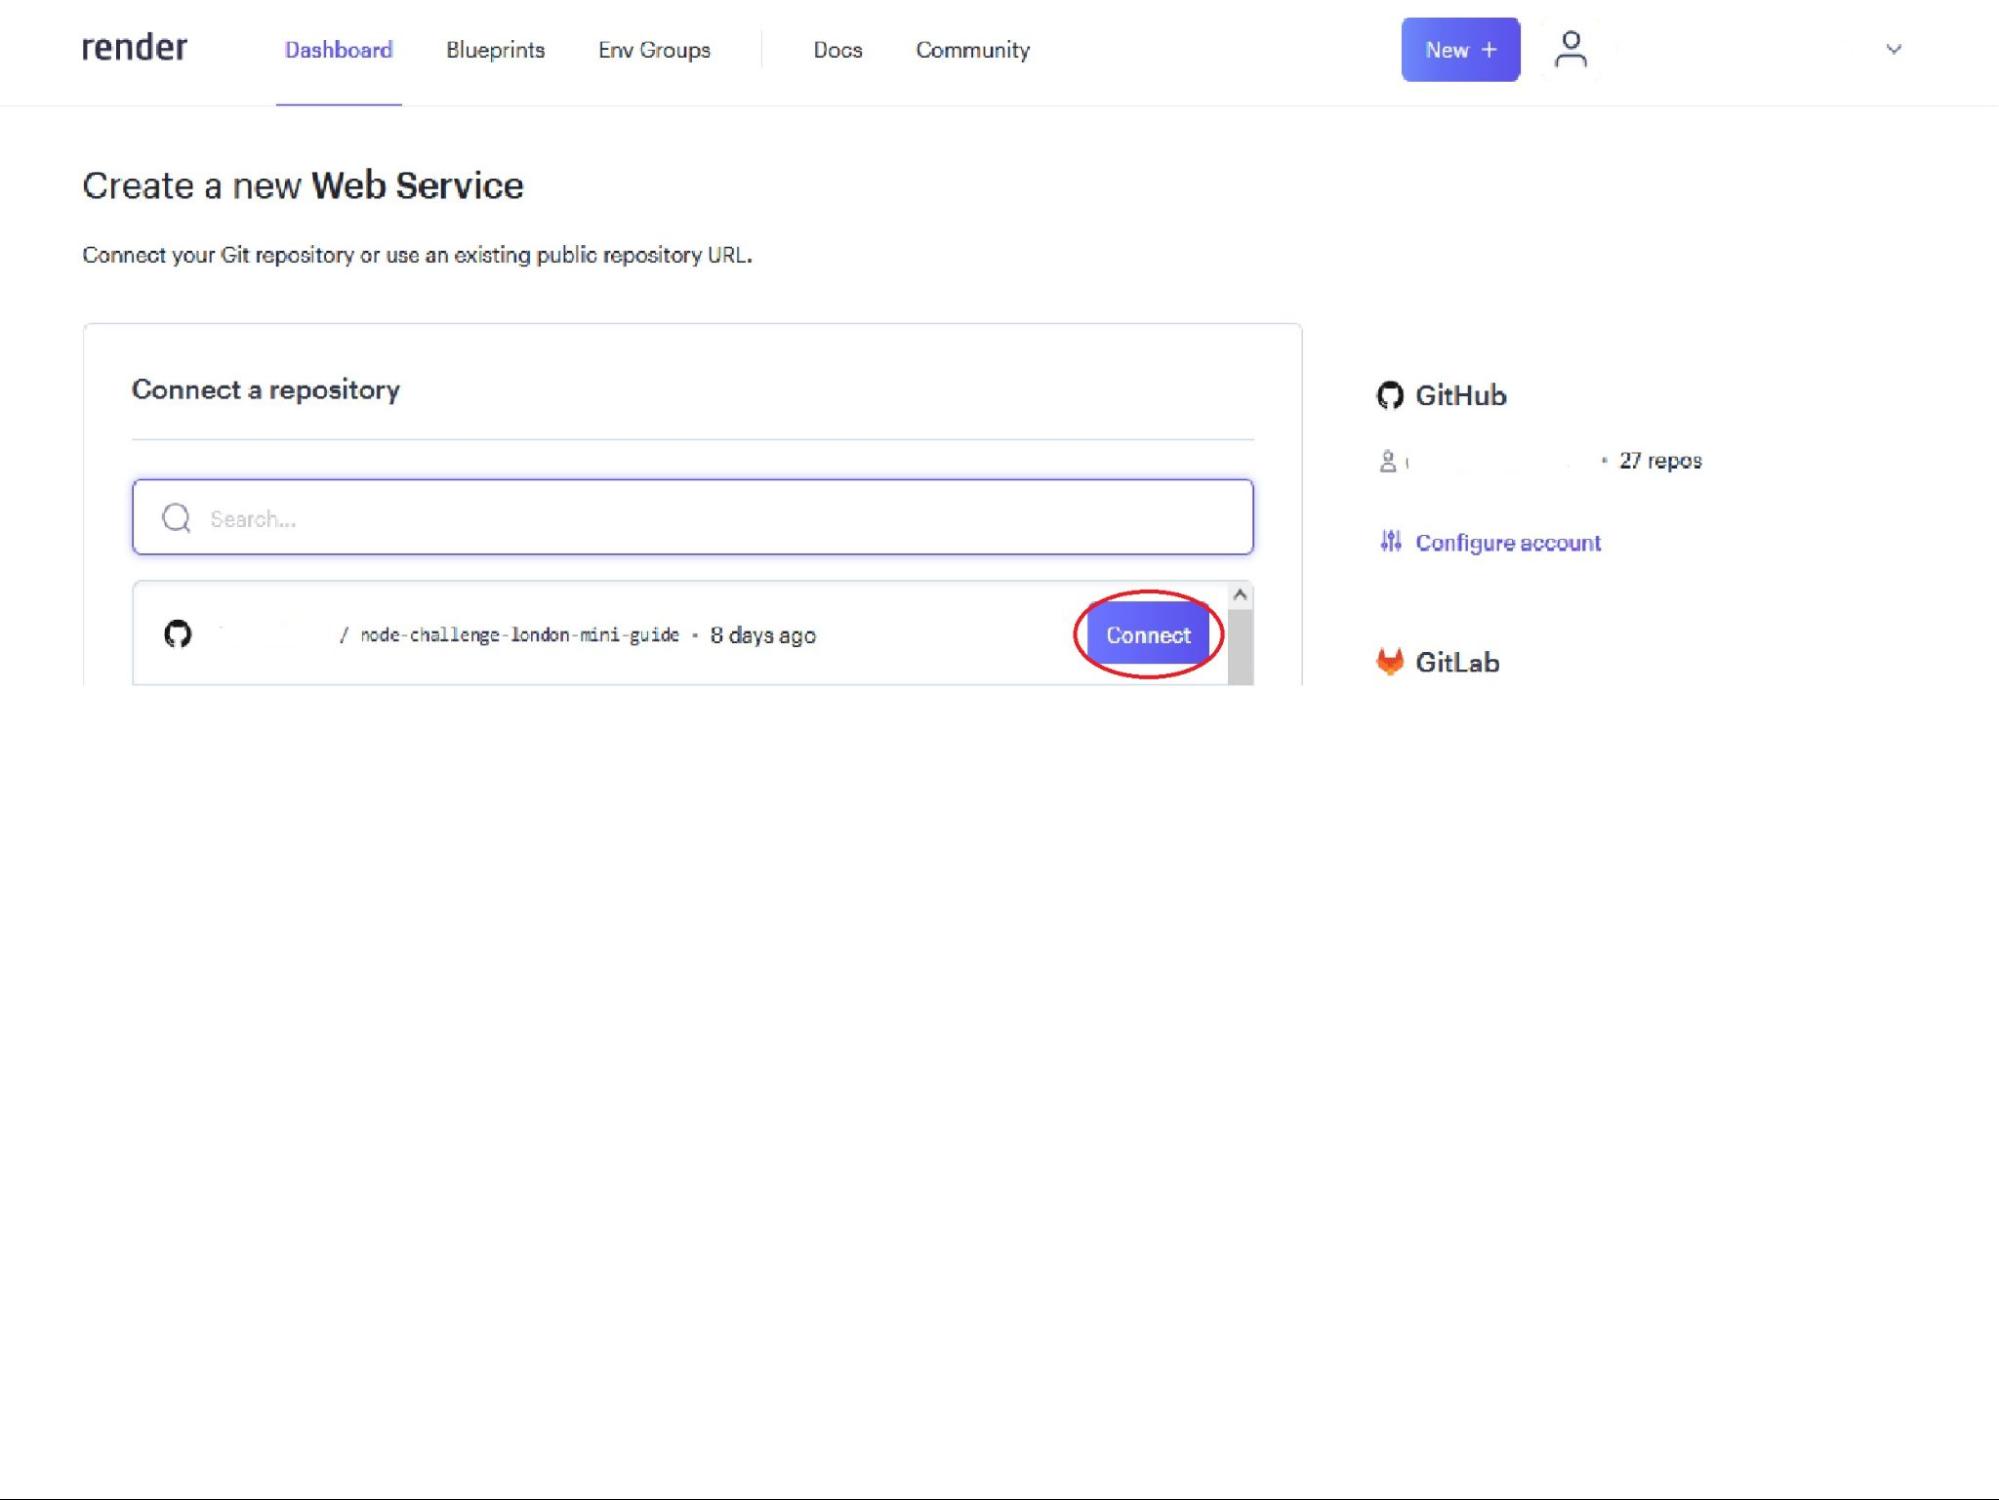
- Make sure you have connected your GitHub account to Render (see How to connect your GitHub to Render)
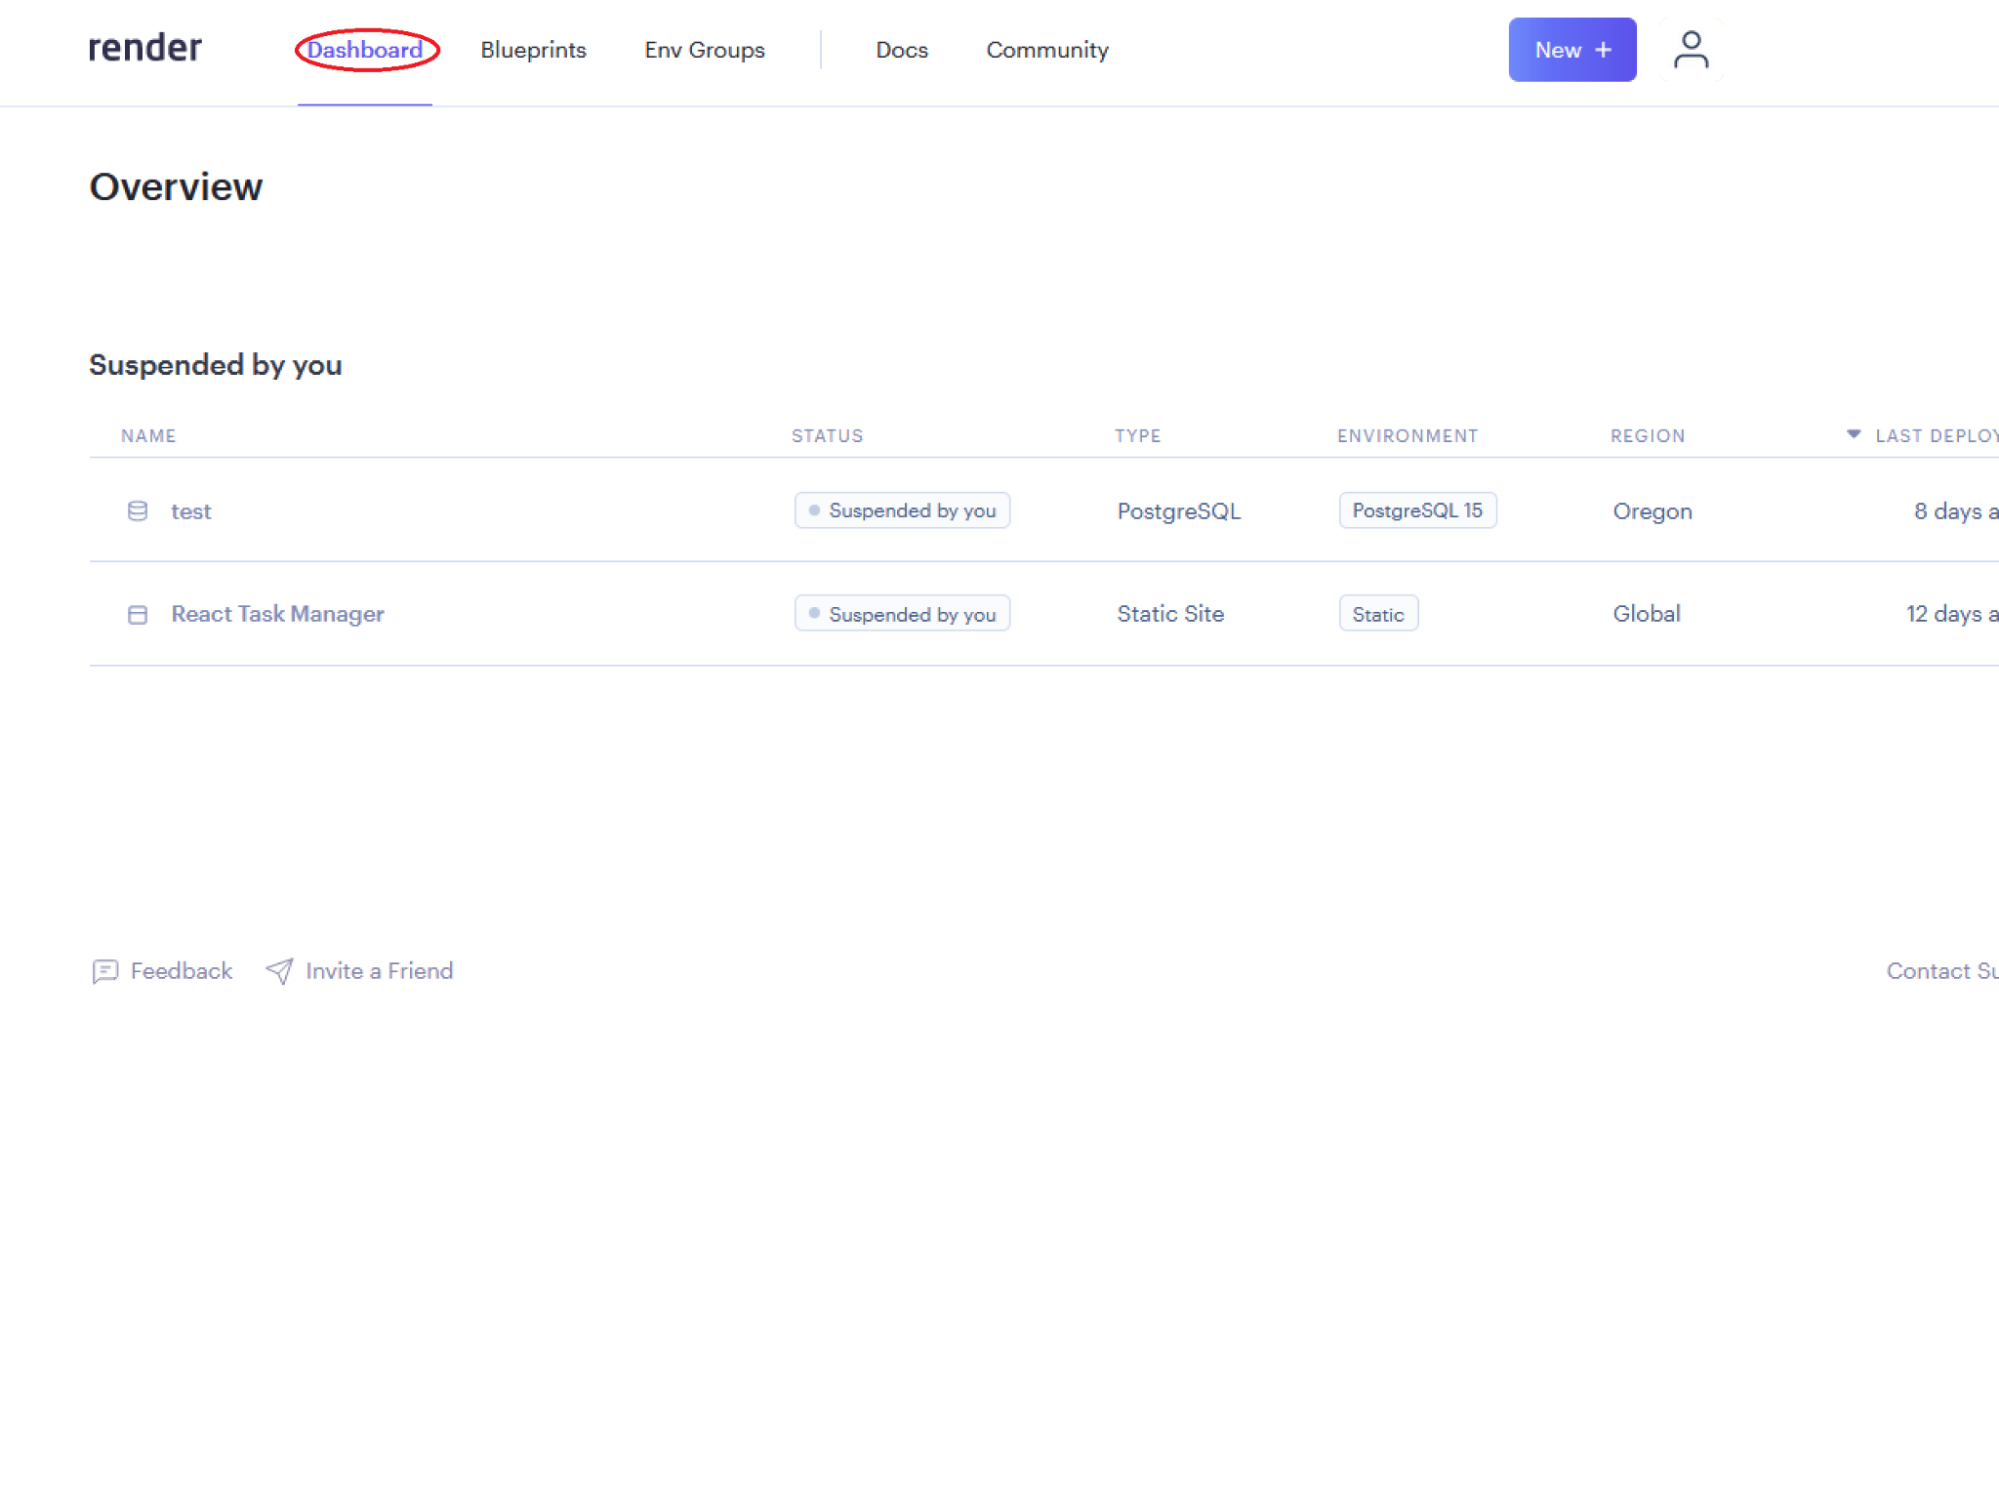
- Log into the Render dashboard
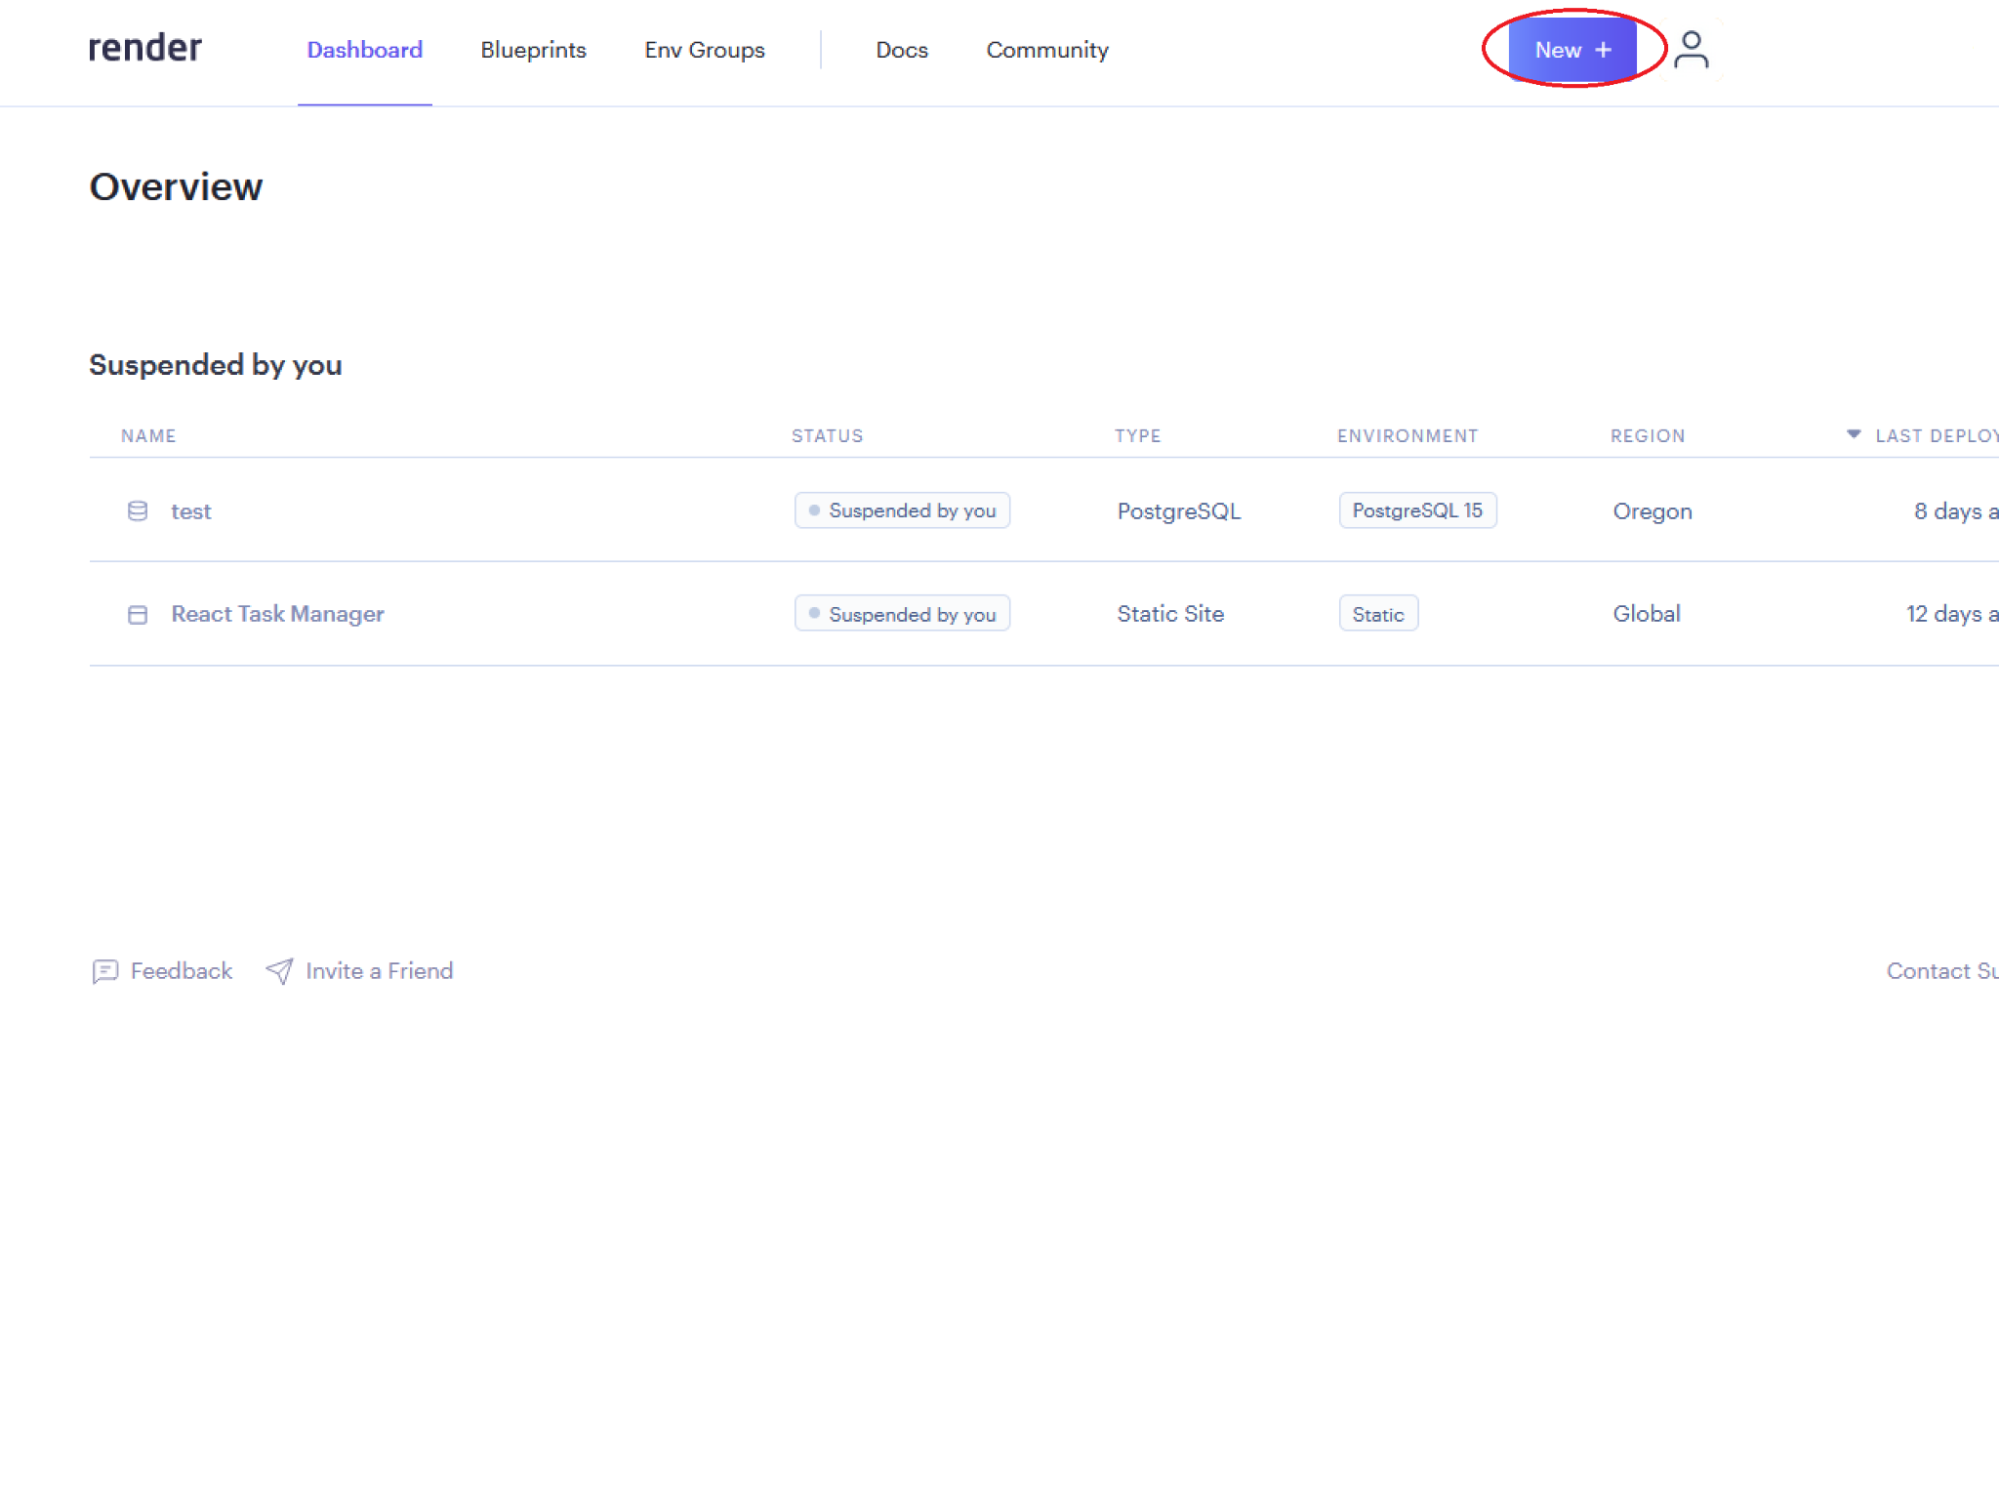
- Click on the New + button
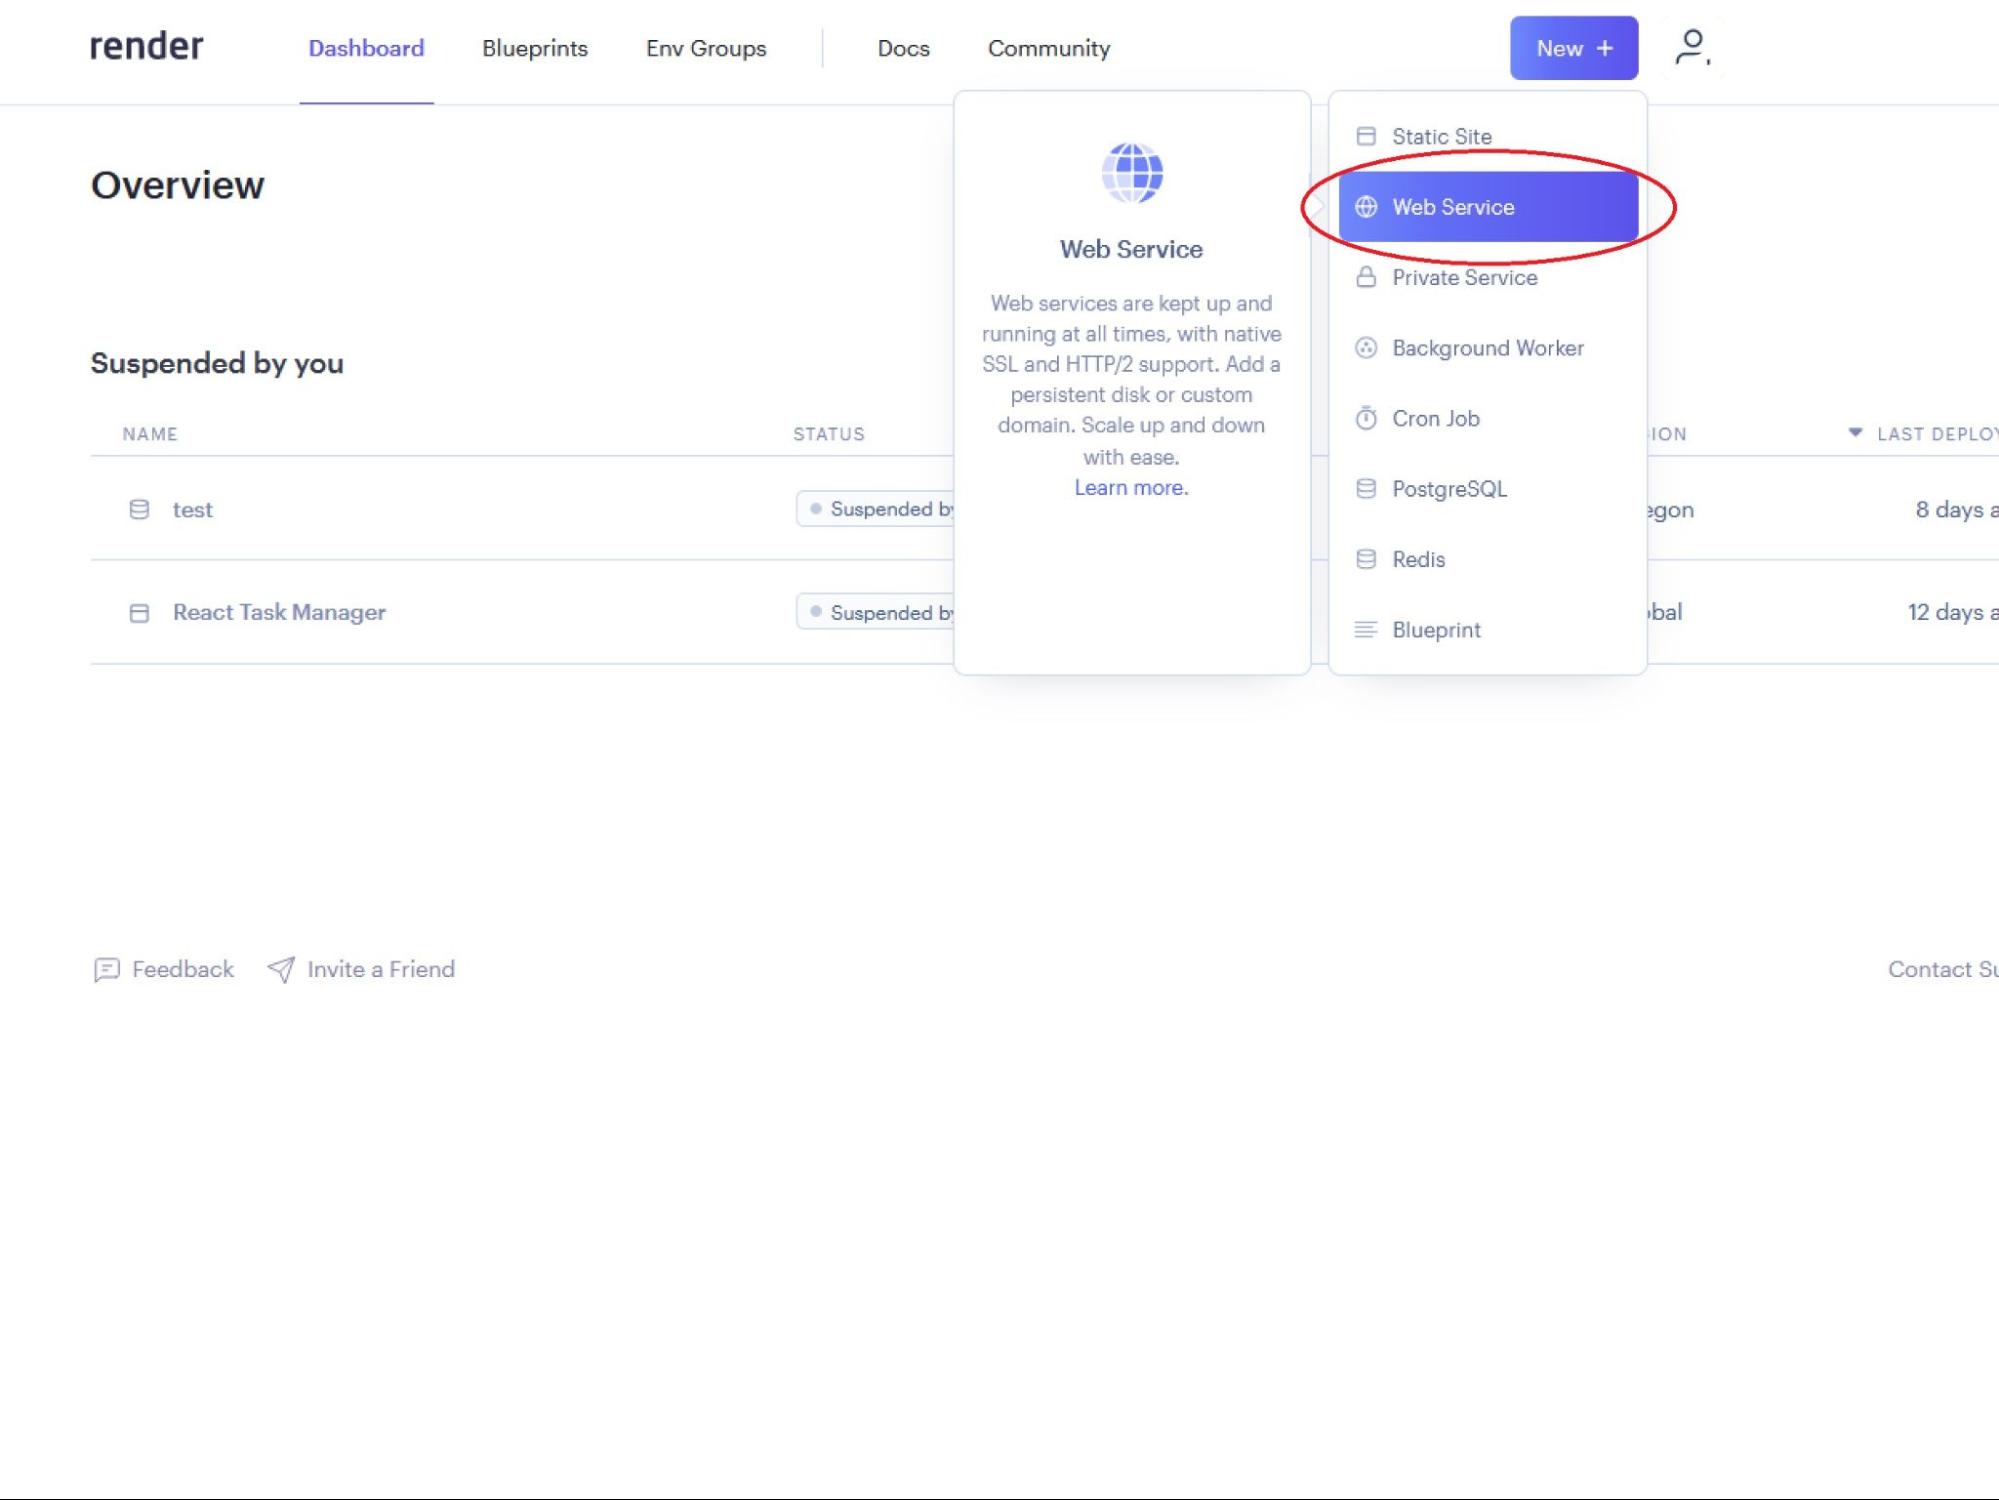
- Click on Web Service from the dropdown list
- Select your repo to connect to Render by clicking on the Connect button
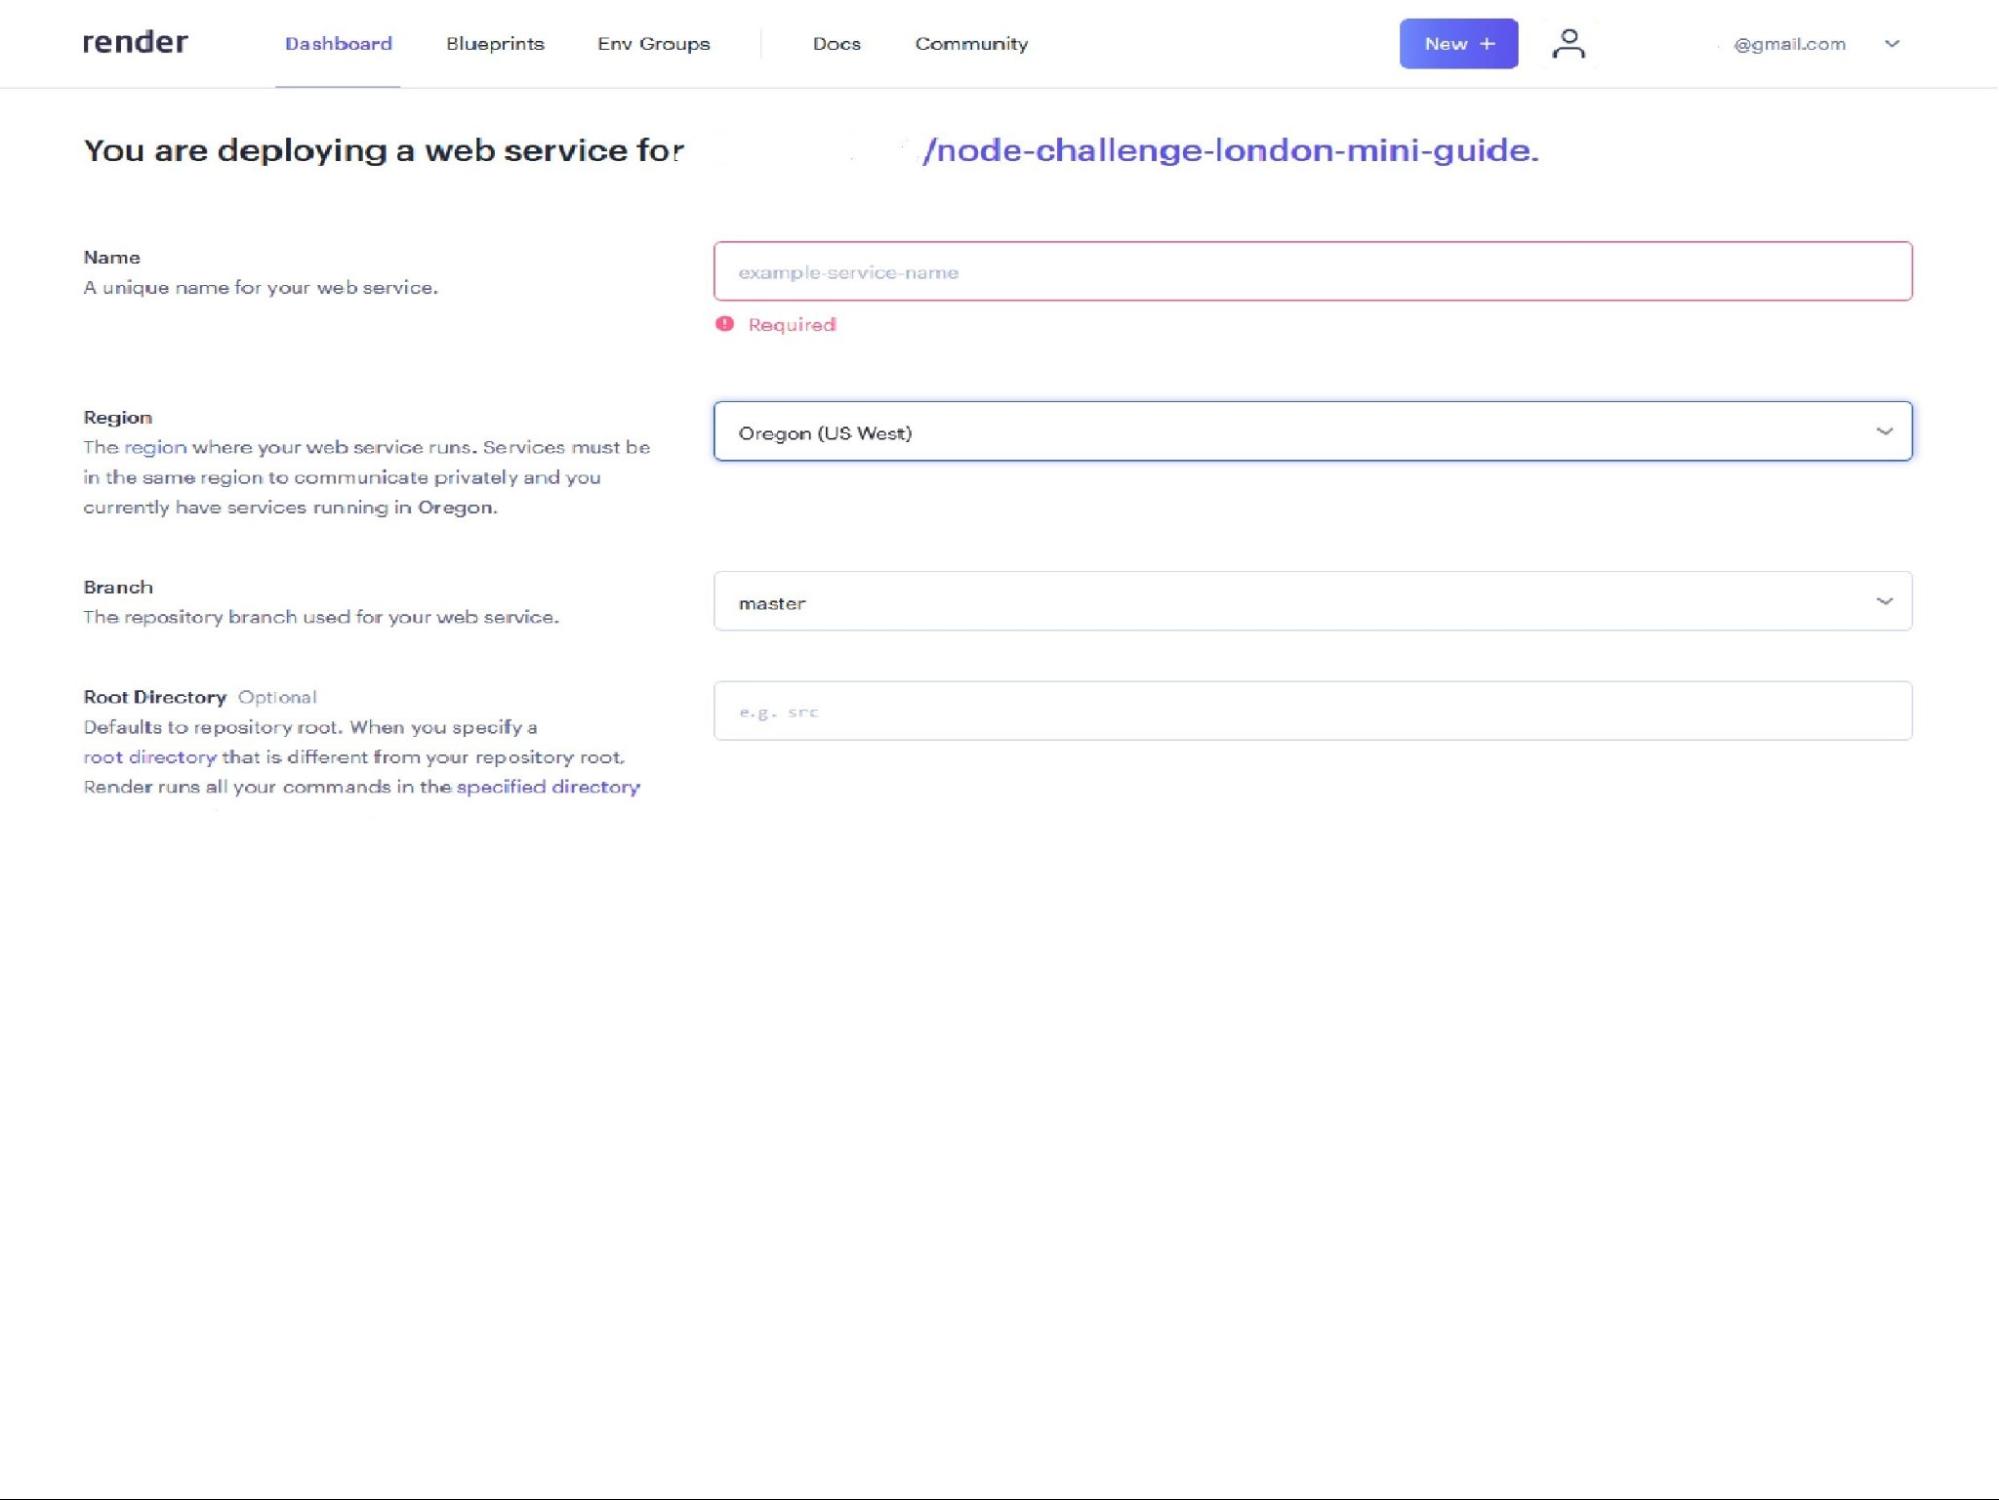
- Fill out the Name field, which will be used to label the server within Render
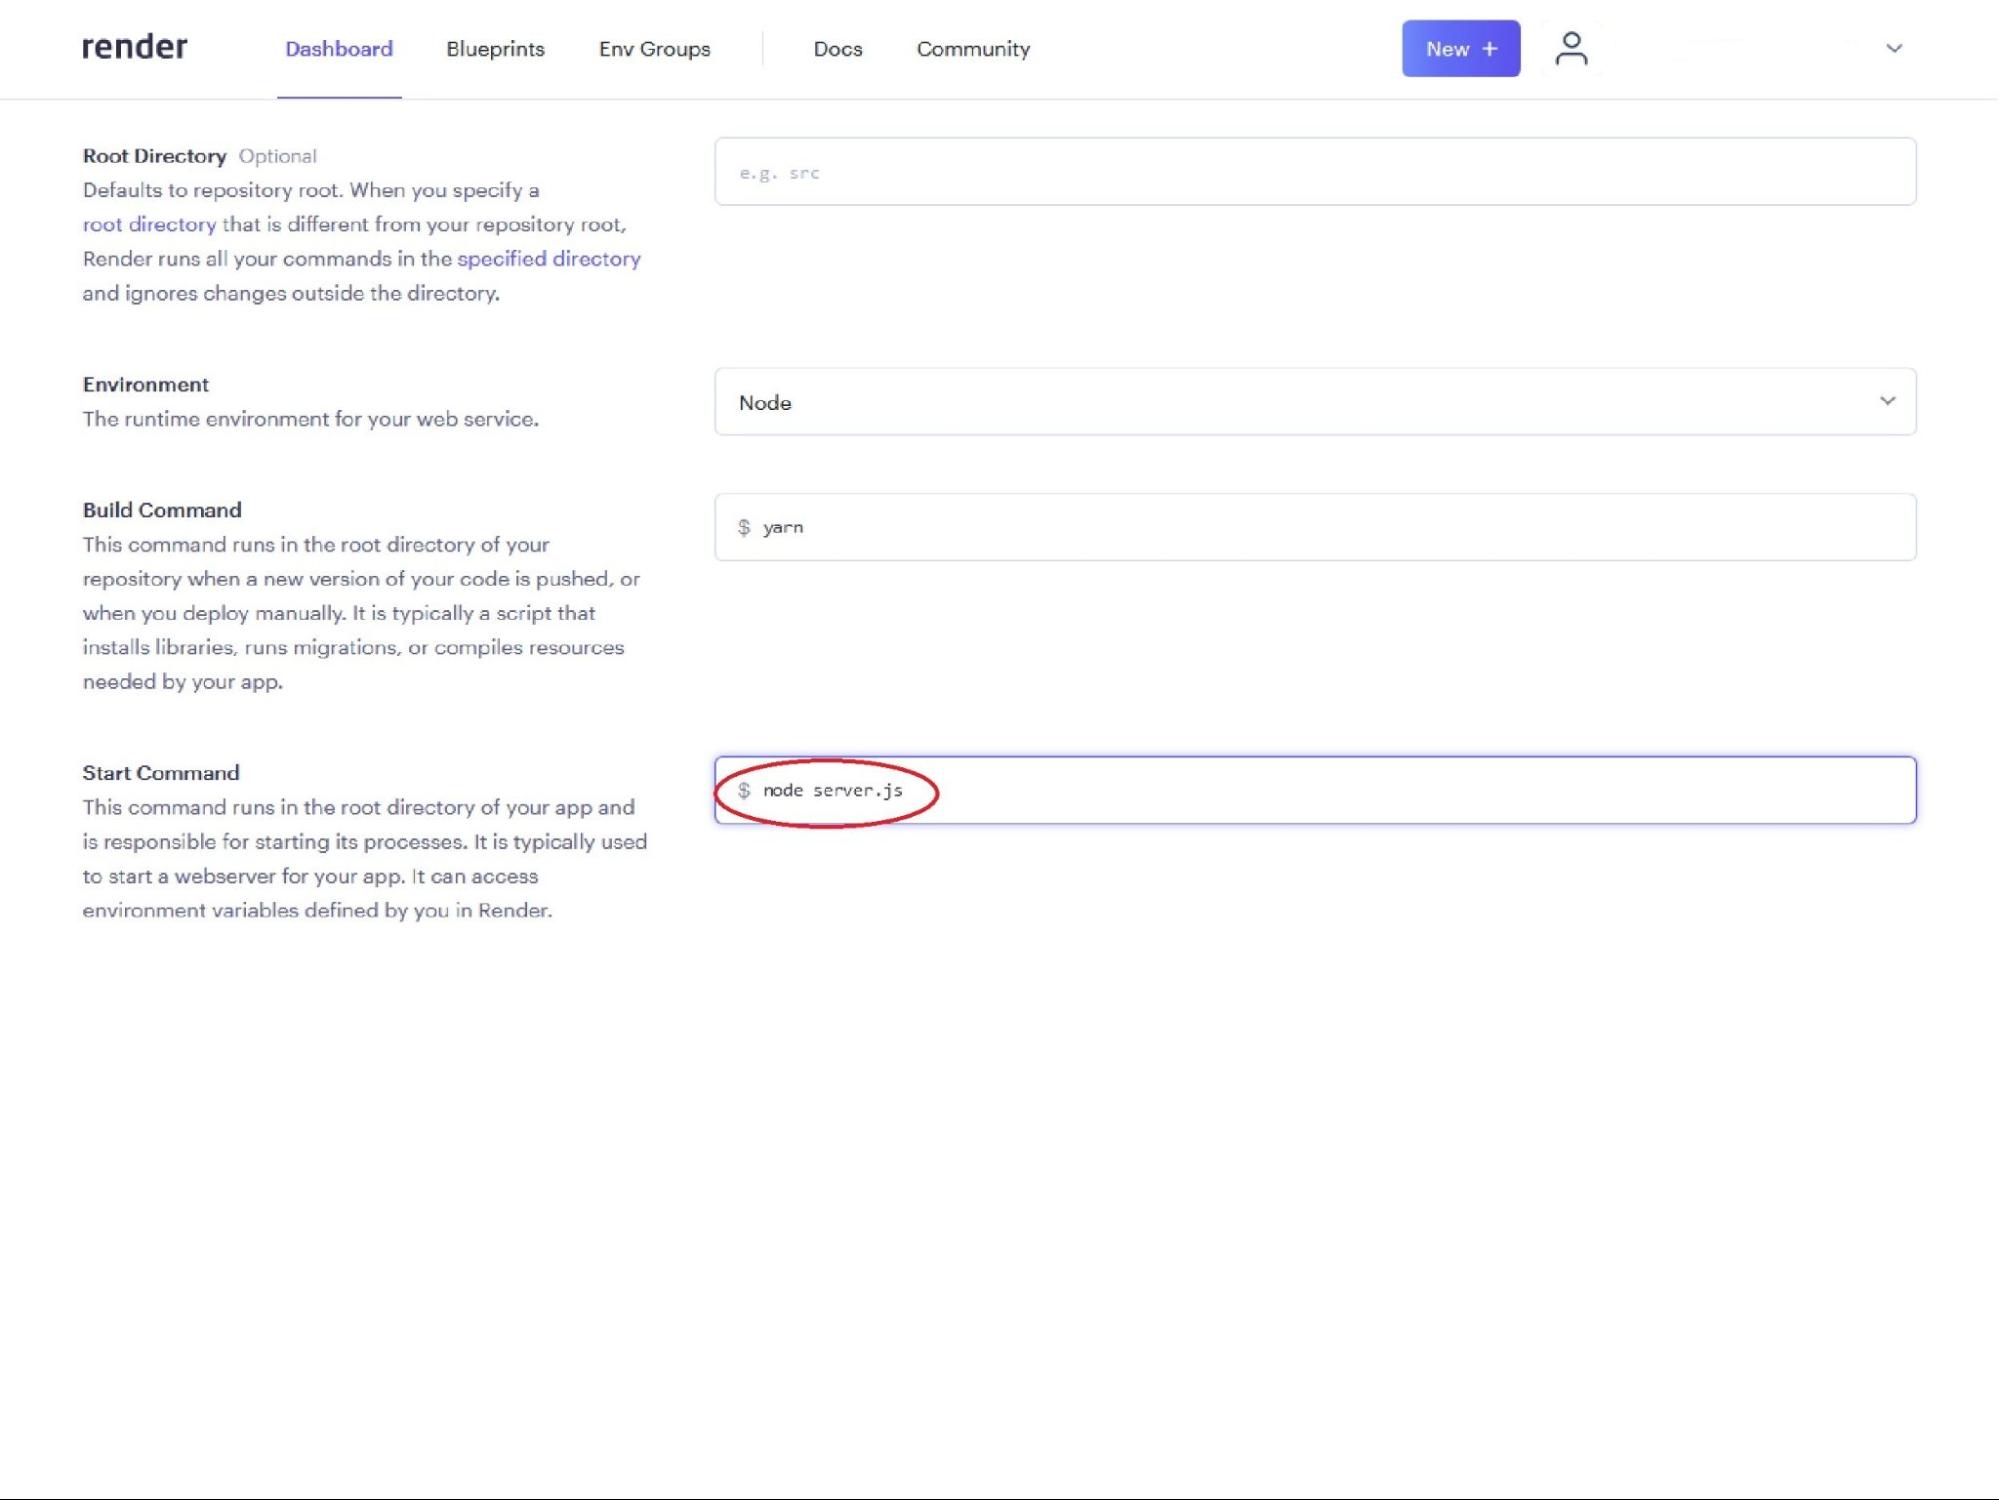
- Provide a Start Command field. This should be in the format
node YOUR_FILENAME.js, it is likely node server.js
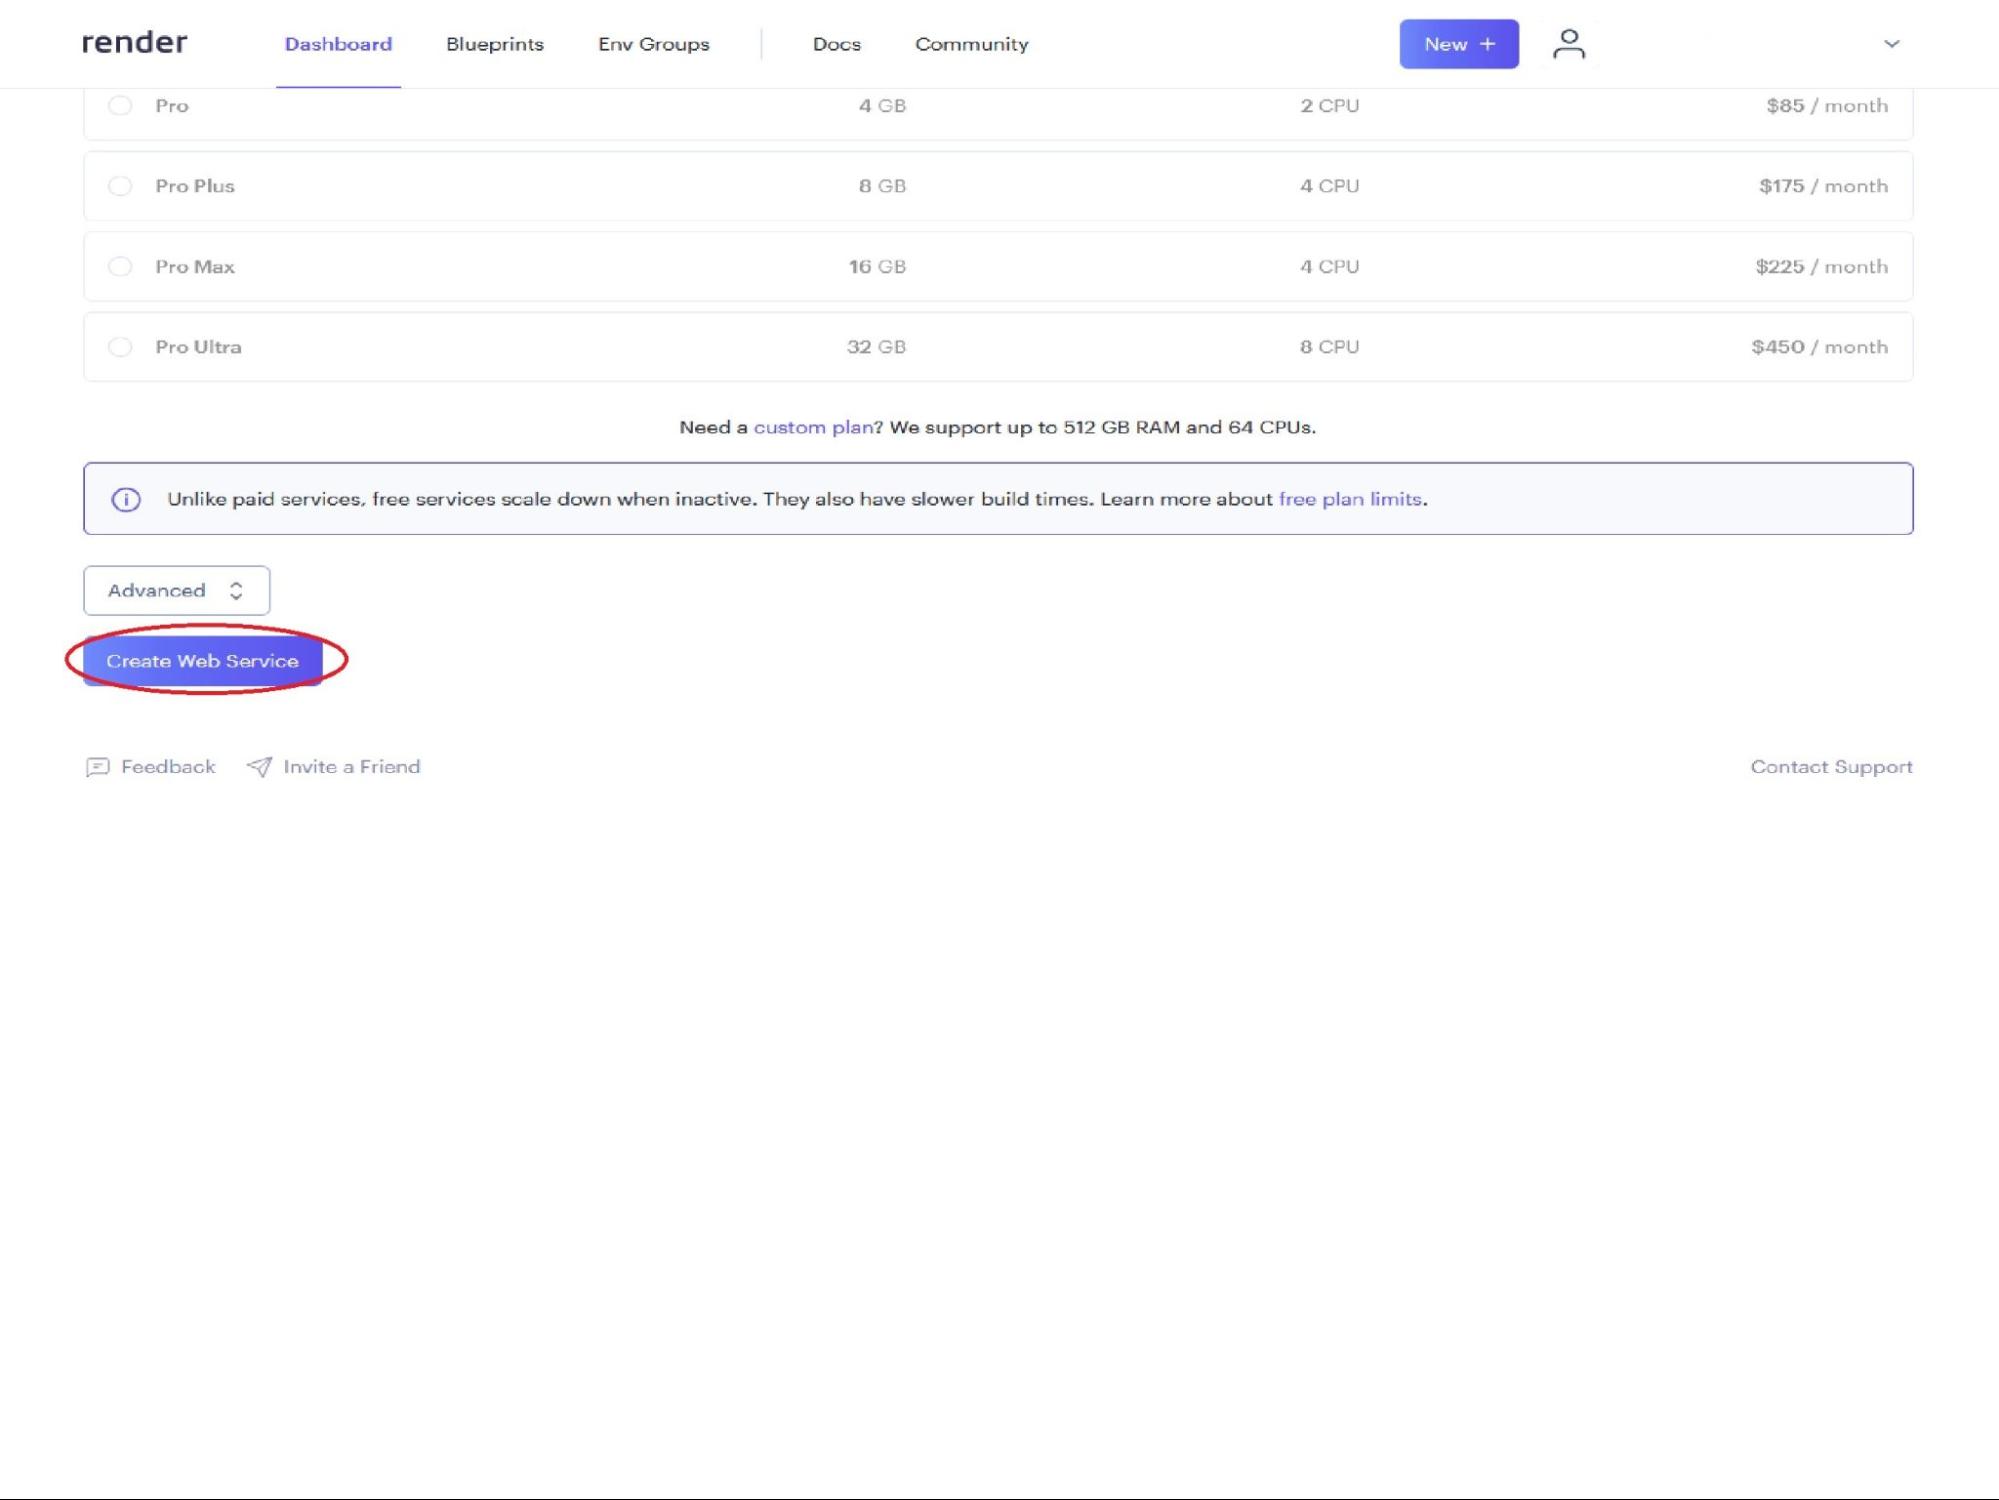
- Create your new server by clicking on the Create Web Service button
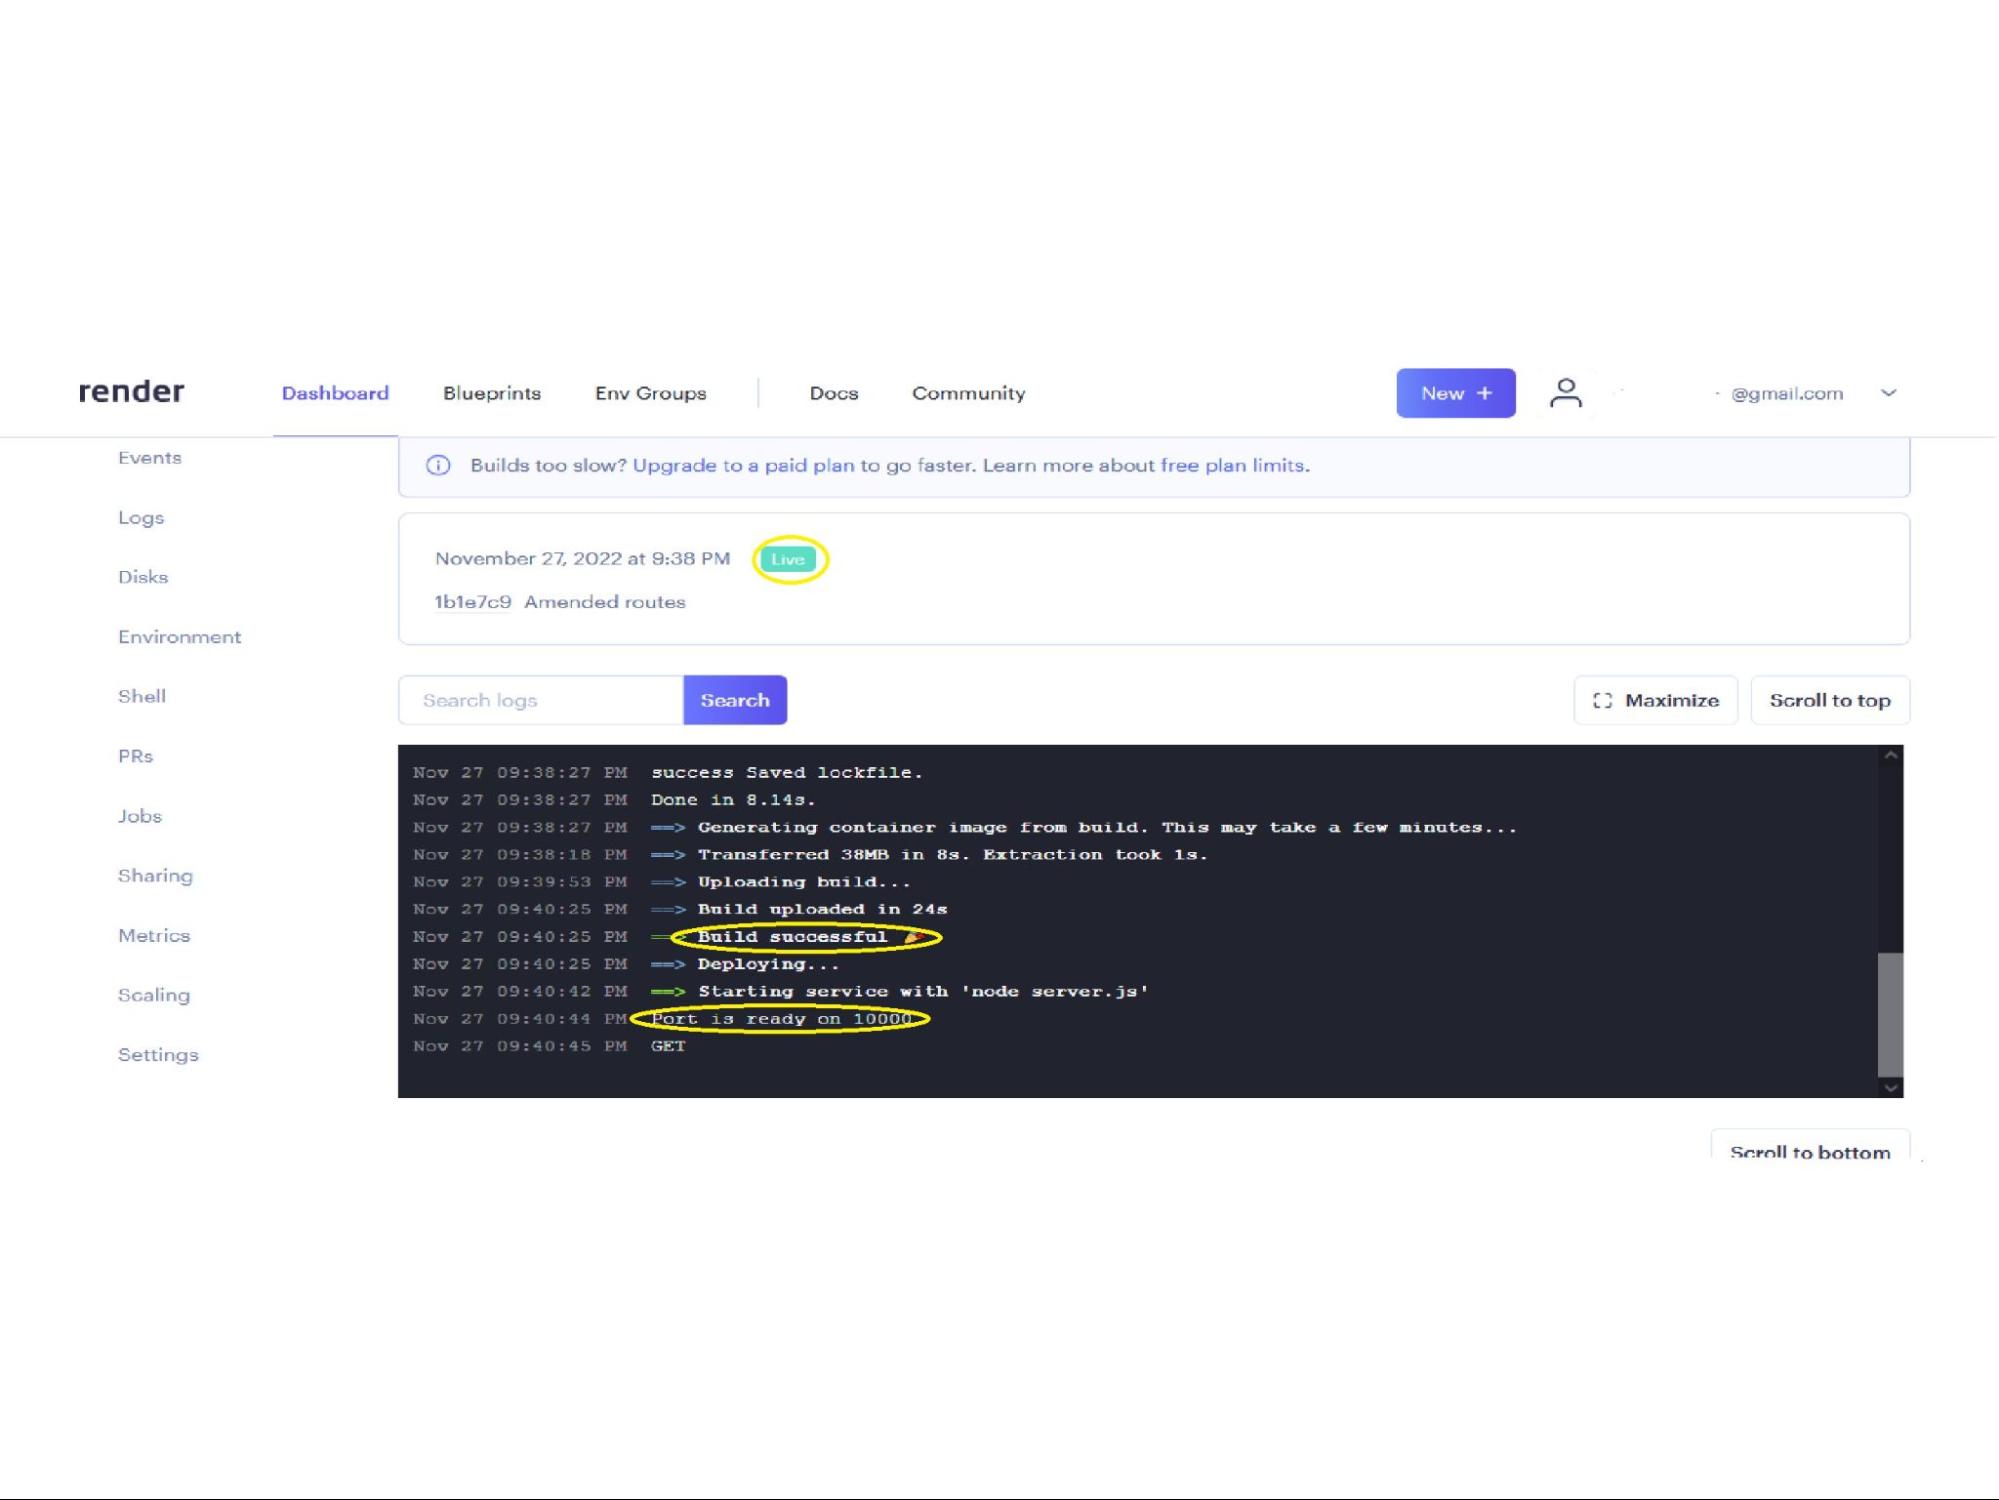
- You should have been taken to the Build page for your new server
- Wait for the build to complete (it may take a couple of minutes). It should display "Build successful" as well as "Live"
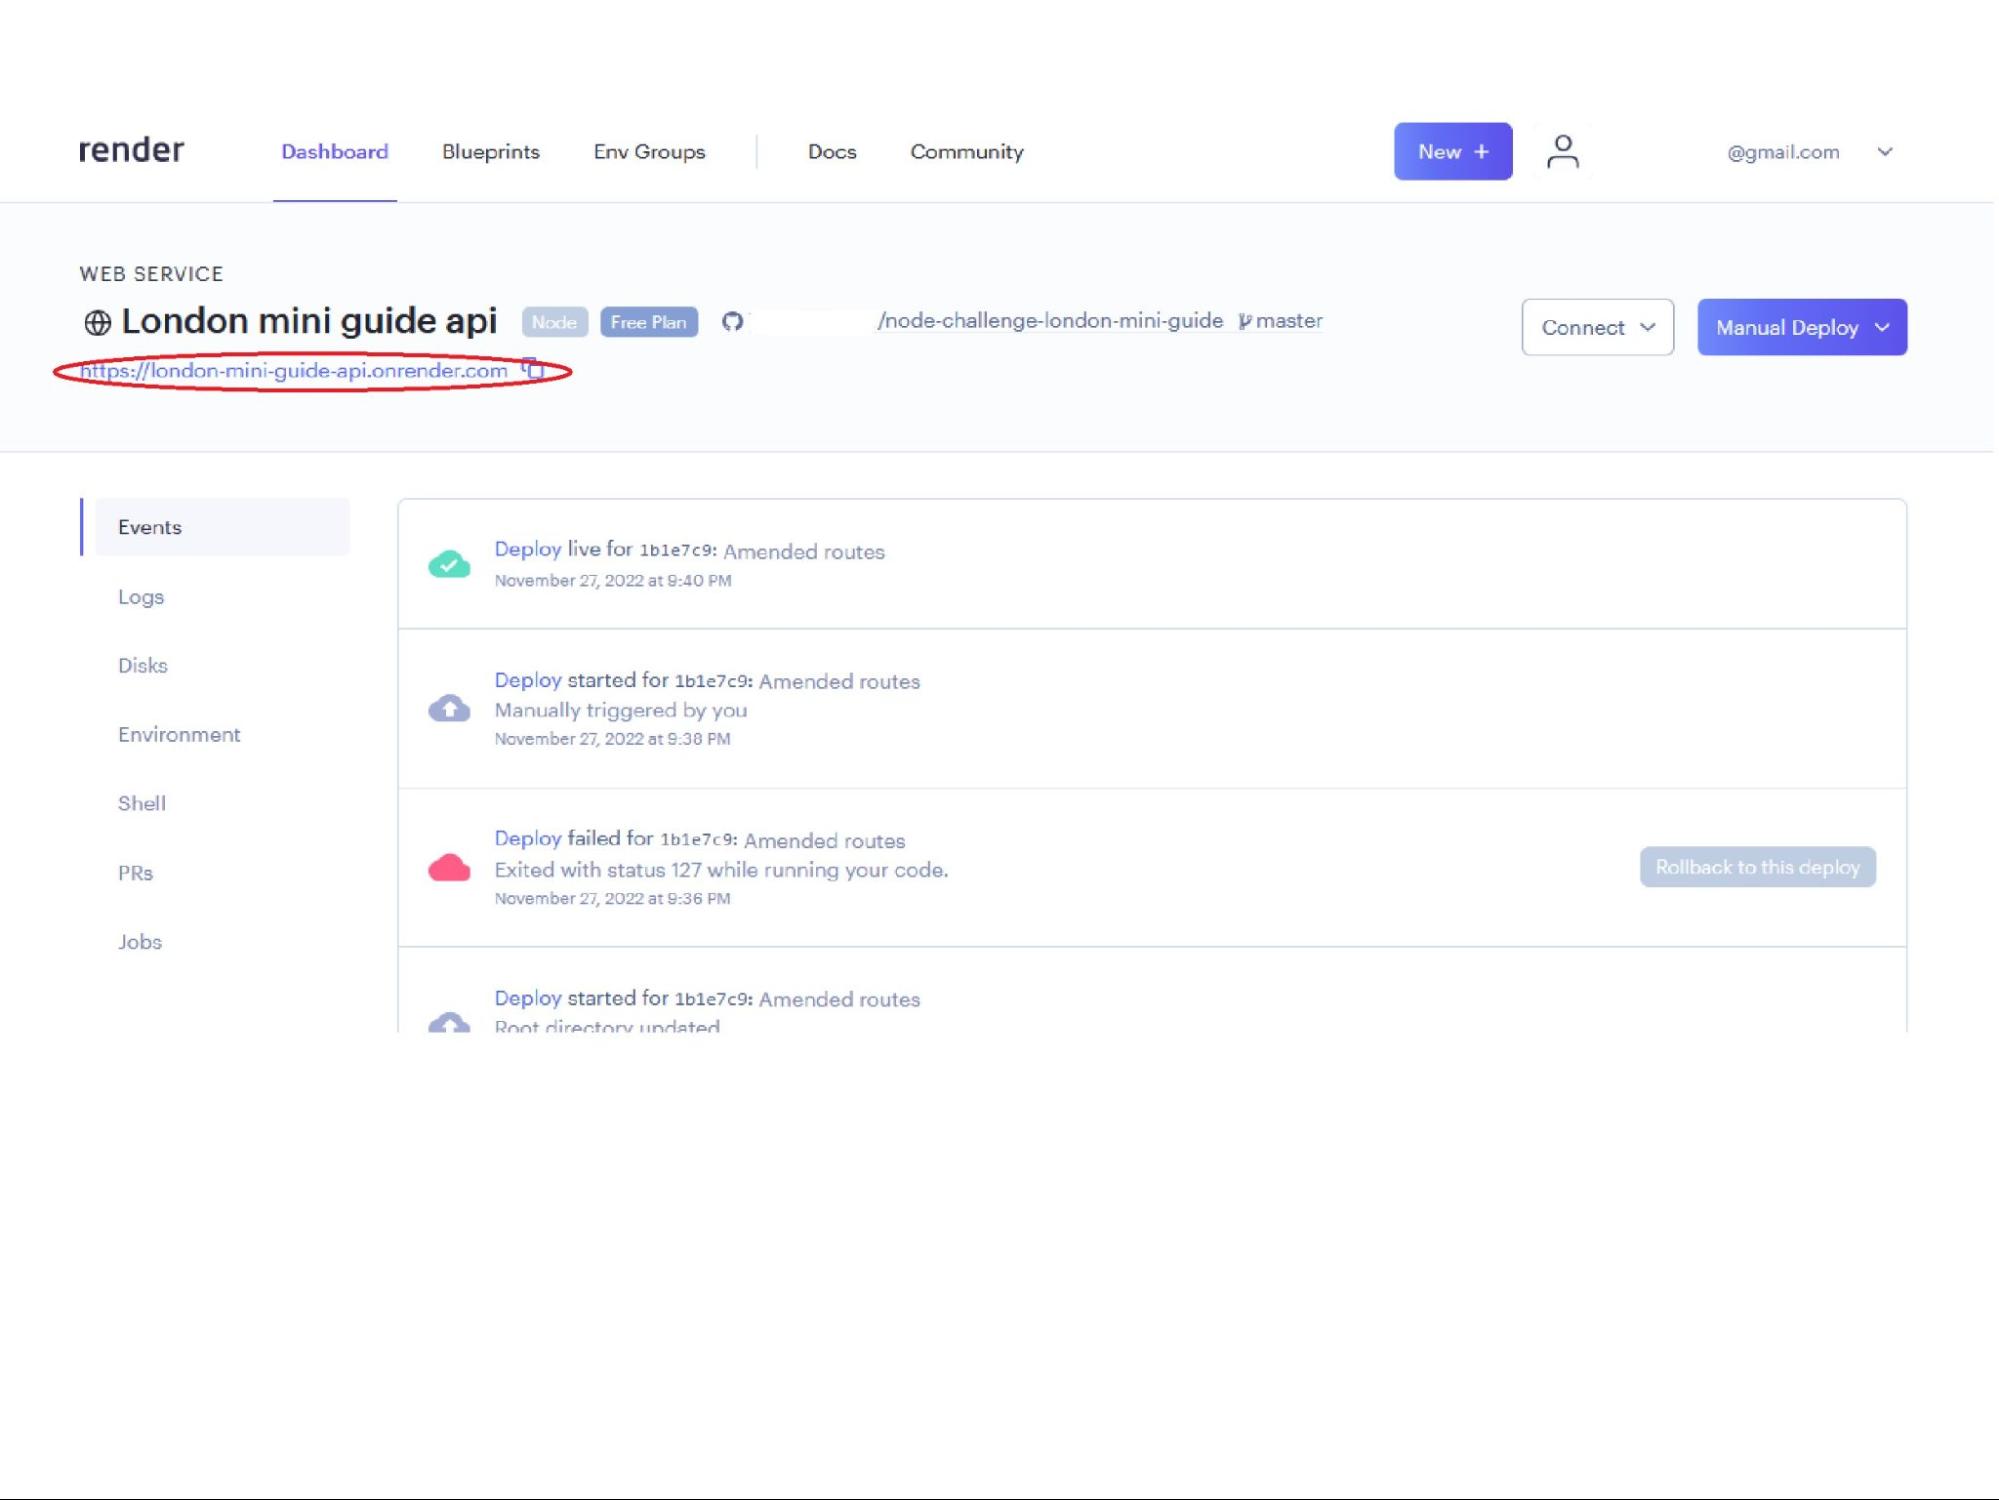
- You can view your newly deployed server by clicking the URL at the top of Web Service page